A Healthy Back to School: Easy-to-Craft Lunch Recipes
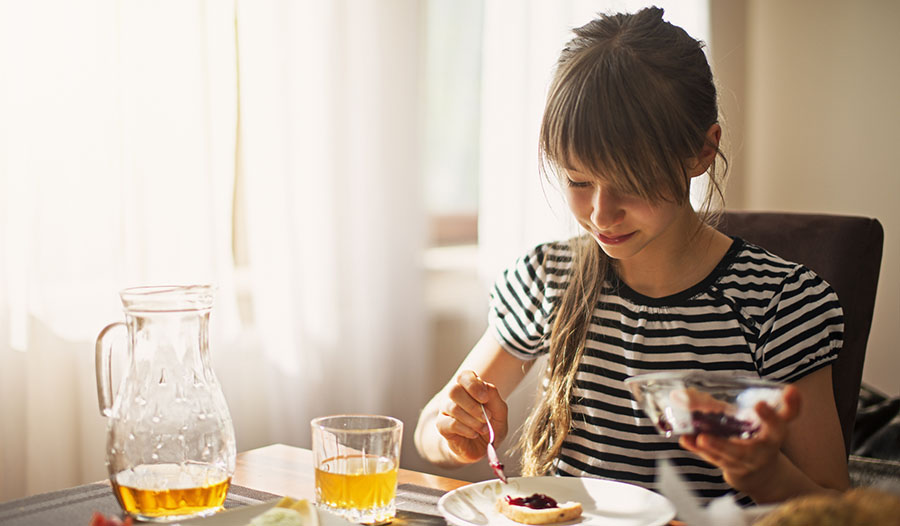
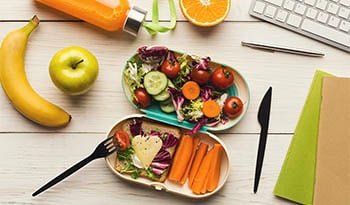
When it comes to the back-to-school season, some parents struggle to find ways to create healthy meals for their kids without boring them. To help school-aged kids learn the value of healthy eating be sure to:
- Pack the appropriate portion sizes
- Include healthy vegetables and fruit
- Choose foods that are going to give kids the energy they need for the day
- Consider that children need more vitamins and minerals for growth
What are the Benefits of Packing a School Lunch?
There are several reasons to consider packing a school lunch rather than having a child eat the prepared lunches provided at many schools. One of the first reasons is allergies. Sometimes, lunches prepared at the school can contain allergens. While most school districts have fairly stringent policies about going nut-free or having dairy-free selections, this can still limit a child's options. For this reason, parents of children with allergies often make lunches for their kids that they can take with them to school.
Another reason some parents opt to prepare their children's own lunches for them is proper nutrition. When it comes to vitamins, school lunches do have a tendency to pack in an adequate amount for a child, but in many cases, there isn't a lot of attention paid to things like sugar content and carbs. For those looking to keep these aspects of a child's diet balanced, it's a good idea to pack lunches so that children can enjoy their meals without dealing with an excess of unhealthy ingredients.
These kid-approved recipes put a new spin on old classics. They’re also quick to make, delicious and pack in some real nutrition.
Almond Butter, Banana and Orange Marmalade Lunch Sandwiches
This recipe is a bit of a variation on an old lunchtime classic. The chief difference is that this is much healthier than a traditional peanut butter and jelly sandwich - the almonds in the almond butter provide healthy fats, bananas are loaded with potassium and marmalade is a little less sugary than jellies. Marmalade also has vitamin C, which is great for energy and helping to reduce free radicals.
Ingredients:
- 1 peeled banana
- 2 Tbs. almond butter
- 2 slices wholemeal bread
- 3 Tbs. orange marmalade
Instructions:
- To start, take the peeled banana and slice it so that the slices are about a quarter-inch thick. Set aside.
- Using the bread, spread the almond butter on one side, making sure that the entire slice is covered in the butter. Use extra almond butter if needed. Note that some almond butter is a little stiff. If this is the case, make sure that all of the oil is stirred well into the butter using a knife or spoon.
- Next, dollop the marmalade onto the other slice of bread and spread it evenly over the surface with a knife.
- Before combining slices, place the banana slices atop the almond butter.
- Combine the slices together and pack for lunch.
Healthy Blueberry Lemon Energy Bars
Preferably, with this recipe, use no-sugar-added dried blueberries. Other dried fruit alternatives can also be used as well.
Ingredients:
- 3 ounces freeze-dried organic blueberries
- 3 ounces dried lemon
- 1 cup organic unsweetened coconut flakes
- 1/3 cup melted coconut oil, preferably virgin
- 1 Tbs. honey
- 1½ cups macadamia nuts
- 1 Tbs. chia seeds
- 1 tsp. kosher salt
- 1 Tbs. honey
Instructions:
- In a food processor, pulse the lemon and blueberries together so that they are well-blended. Once blended well, add in the nuts and continue to blend until the nuts are chopped finely.
- Add in the coconut flakes, salt, chia seeds, coconut oil and honey. Pulse for a few minutes until the mixture forms a fairly coarse puree.
- Onto a cookie sheet that has been lined with wax paper, spread the blueberry and lemon mixture so that it's even and about a half-inch thick. Top the puree mixture with a layer of plastic wrap.
- Place the cookie sheet into the fridge for about one hour. This will give the bars a chance to harden into a chewy consistency.
- Once they've hardened, use a knife or pizza cutter to slice the mixture into bars. Pack them in an insulated lunch bag so that the coconut oil doesn't cause the bars to lose consistency and soften up.
Easy Chia and Oats Pudding
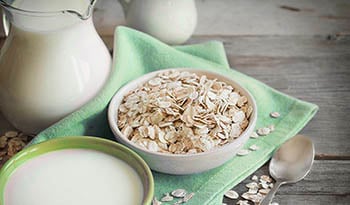
Chia definitely provides a lot of benefits for growing kids. These tiny seeds are loaded with omega-3 fatty acids and are great for those trying to add antioxidants in order to fight free radicals. This is also a recipe that is completely gluten-free and packs in a ton of vitamins.
Ingredients:
- 6 Tbs. chia seeds
- 3 cups of almond milk
- 1 Tbs. honey
- 1/2 tsp. vanilla extract
- 2 tsp. rolled oats
- Dried or fresh fruit for the topping
Instructions:
- In a bowl, combine the chia seeds, rolled oats, vanilla extract, honey and almond milk. For this step, a mason jar can also be used. Mix together all of the ingredients until they are well-blended.
- Let the whole mixture sit for about five minutes; this will cause it to set slightly. Next, with a spoon, stir the mixture so that there aren't any clumps caused by the oats or chia seeds.
- Using plastic wrap or the mason jar lid, cover the chia pudding mixture and set it in the refrigerator. Let this sit inside the fridge for about an hour or two. To tell if it's done, gently shake the chia pudding; if it wiggles, it's the right consistency. If it's a bit runny, throw in more chia seeds or oats and let the mixture sit in the refrigerator for another half hour or so.
- Top this mixture with fresh or dried fruit. More rolled oats can also be added to the top for a bit more crunch.
- When packing the pudding for lunch, divide the mixture into smaller portions and serve in bowls or lunchbox containers with lids. The pudding should be kept relatively cold so that it has the right consistency for lunchtime.
Quinoa Macaroni Salad Recipe
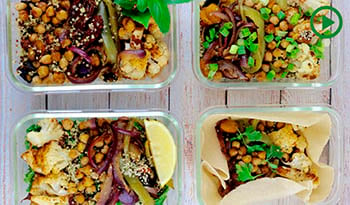
This is an easy meal that keeps well in the fridge, so it's possible to make a batch early in the week and send the kids to school with some on their lunch every day.
Ingredients:
- 4 cups organic quinoa macaroni
- 1 cup mayonnaise with avocado oil
- 2½ Tbs. organic yellow mustard
- 2 stalks celery
- 1/3 cup organic coconut vinegar
- 1 onion
- 1/2 tsp. ground black pepper
- 1½ tsp. salt
Instructions:
- To start, slice the onion and celery until they are finely chopped. Set aside.
- In a large pot, bring about eight cups of water to a boil. Once it has reached a rolling boil, toss in the organic quinoa macaroni and cook to the desired degree of firmness. For quinoa macaroni, this should take about 10 minutes for al dente and about 15 minutes if the kids want a softer noodle. Add salt to taste.
- Once boiled, drain the noodles completely. Rinse the cooked noodles under cold water.
- In a bowl, mix together the mayonnaise, coconut vinegar, salt, pepper and mustard. Once this is mixed well, add in the vegetables that were cut up earlier. Once combined, pour in the cooked noodles and mix well so that all of the ingredients are coated. Place the bowl of macaroni salad inside the refrigerator and let chill for about four hours. Pack it for lunch to be used as a side or as a main course for a child's school lunch.
DISCLAIMER:This Wellness Hub does not intend to provide diagnosis...




 Table of Contents


